
Using depth of field in Microsoft Flight Simulator
Microsoft Flight Simulator has a nice little feature that will help you grab some nice screenshots. Using the drone camera , you can manually handle the depth of field of your frame.
Although the feature is helpful, it does not guarantee automatic majestic screenshots. Some points that i have found useful for its use:
- Do NOT overuse it.
- Depth of Field works closely with Zoom. you will see that most of the times it will not look as good if you don’t zoom on your subject.
- By zooming you will notice that the scenery becomes less pretty , according to your settings. This is where this feature will save your screenshot, by blurring the background.
Setup keyboard bindings for manual depth of field handling
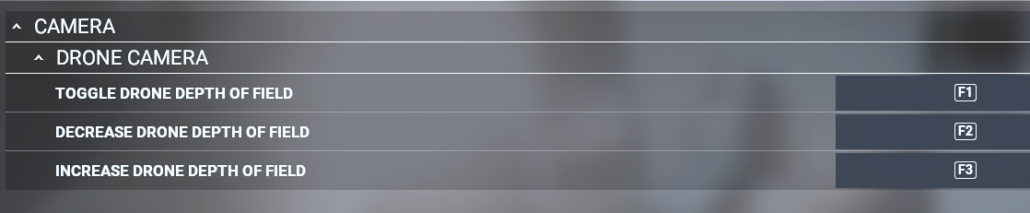
Go to Keyboard bindings and setup 3 keys:
- TOGGLE DRONE DEPTH OF FIELD
- DECREASE DRONE DEPTH OF FIELD
- INCREASE DRONE DEPTH OF FIELD
Don’t forget the enable the Depth of Field in general settings:

You can assign whatever keys you like, i have personally assigned F1,F2 and F3:
Basic use example
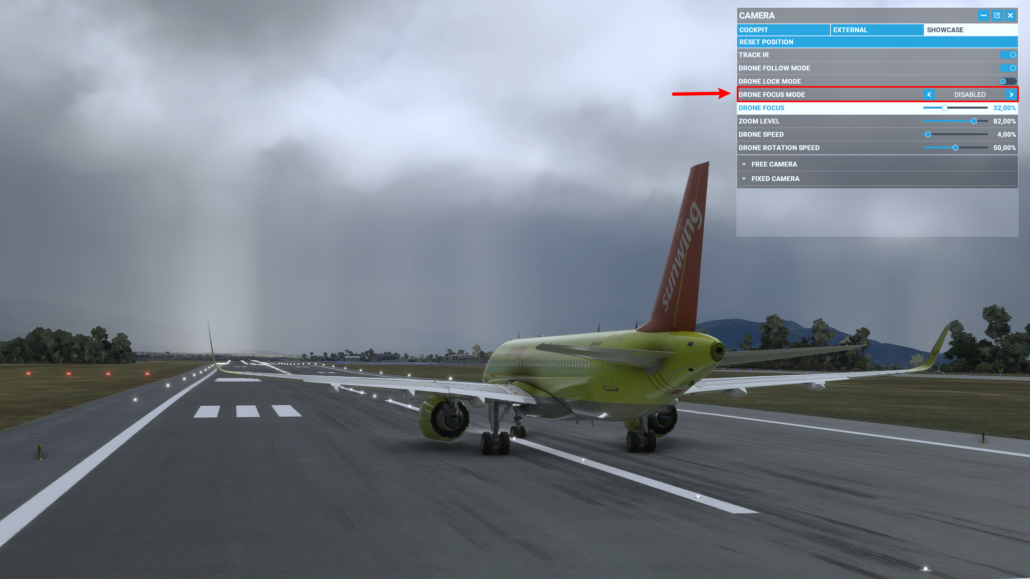
We are located at Mariscal Sucre International Airport (SEQM). Ready for takeoff and a curtain of rain in front of us.
In the first picture the effect is off:
Enable the effect by pressing F1 or just by selecting from the option window. Press F2 all the way to get the focus to 0%:
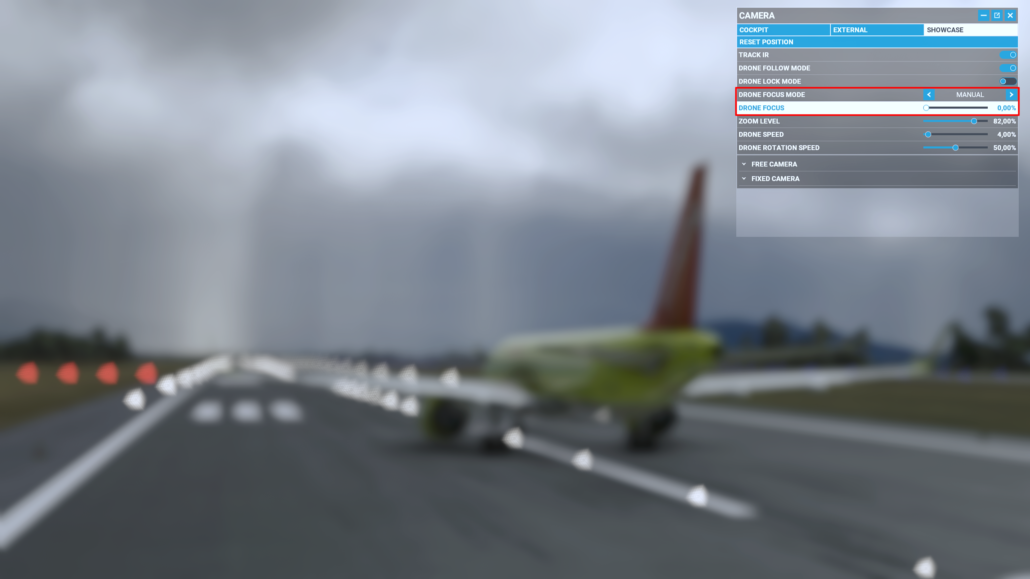
By pressing F3 or by dragging the drone focus slider we find the sweet spot which in our case is 72%:


Leave a Reply
Want to join the discussion?Feel free to contribute!