Υλικά

  • 2 φλ. αλεύρι που φουσκώνει μόνο του
  • 2 κ.γλ. μπέικιν πάουντερ
  • 1 φλ. βούτυρο
  • 1½ φλ. ζάχαρη
  • 2 αυγά
  • 4 μήλα κομμένα σε κυβάκια
  • 1/4 φλ. κονιάκ
  • 1/2 φλ. γάλα
  • 1 κ.γλ. κανέλα
  • 1 κ.γλ. γαρίφαλο

Εκτέλεση

Χτυπάμε στο μίξερ το βούτυρο και τη ζάχαρη να αφρατέψουν. Προσθέτουμε τα αυγά ένα ένα και ανακατεύουμε καλά. Στη συνέχεια ρίχνουμε σιγά σιγά το αλεύρι μαζί με το μπέικιν πάουντερ και προσθέτουμε το κονιάκ, το γάλα, την κανέλα και το γαρίφαλο.

Ανακατεύουμε ώστε να έχουμε ένα μείγμα απαλό όπως ακριβώς του κέικ. Προσθέτουμε τα μήλα κομμένα σε κυβάκια και συνεχίζουμε να ανακατεύουμε λίγο ακόμη.

Αλείφουμε με βούτυρο και πασπαλίζουμε με αλεύρι ένα ταψάκι διαμέτρου 28 εκ. Ρίχνουμε μέσα το μείγμα και ψήνουμε στους 180˚C για 1 ώρα.

Bγάζουμε τη μηλόπιτα από το φούρνο, την αφήνουμε να κρυώσει για 10 λεπτά περίπου και έπειτα τη σερβίρουμε.

Φωτογραφίες από τη διαδικασία:

Microsoft Flight Simulator has a nice little feature that will help you grab some nice screenshots. Using the drone camera , you can manually handle the depth of field of your frame.

Although the feature is helpful, it does not guarantee automatic majestic screenshots. Some points that i have found useful for its use:

  • Do NOT overuse it.
  • Depth of Field works closely with Zoom. you will see that most of the times it will not look as good if you don’t zoom on your subject.
  • By zooming you will notice that the scenery becomes less pretty , according to your settings. This is where this feature will save your screenshot, by blurring the background.

Setup keyboard bindings for manual depth of field handling

Go to Keyboard bindings and setup 3 keys:

  • TOGGLE DRONE DEPTH OF FIELD
  • DECREASE DRONE DEPTH OF FIELD
  • INCREASE DRONE DEPTH OF FIELD

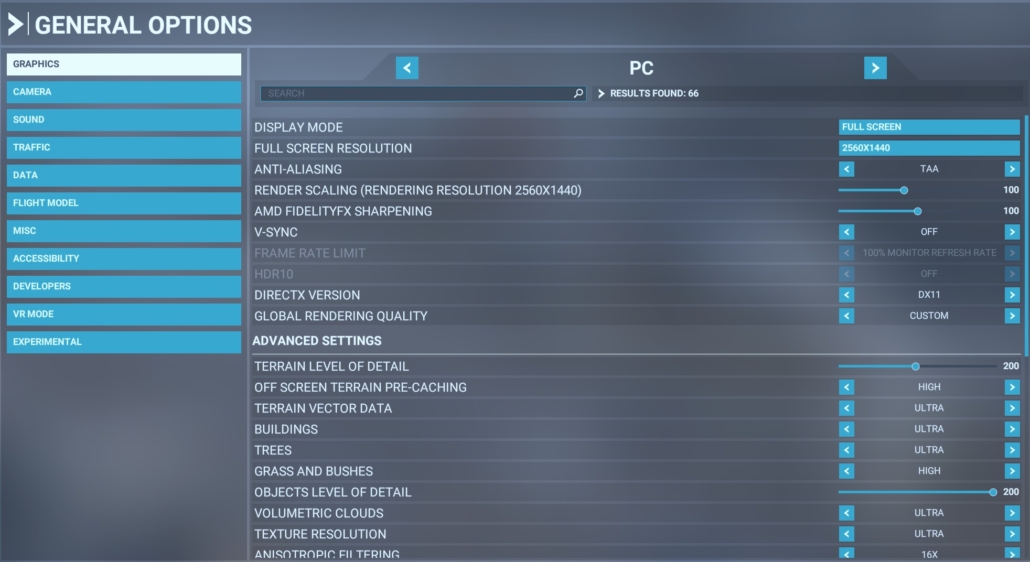
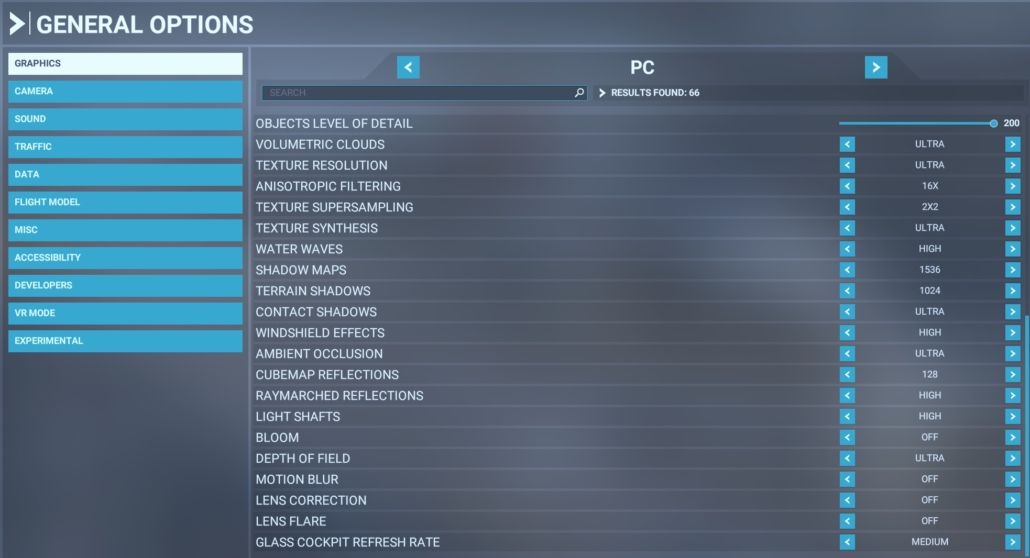
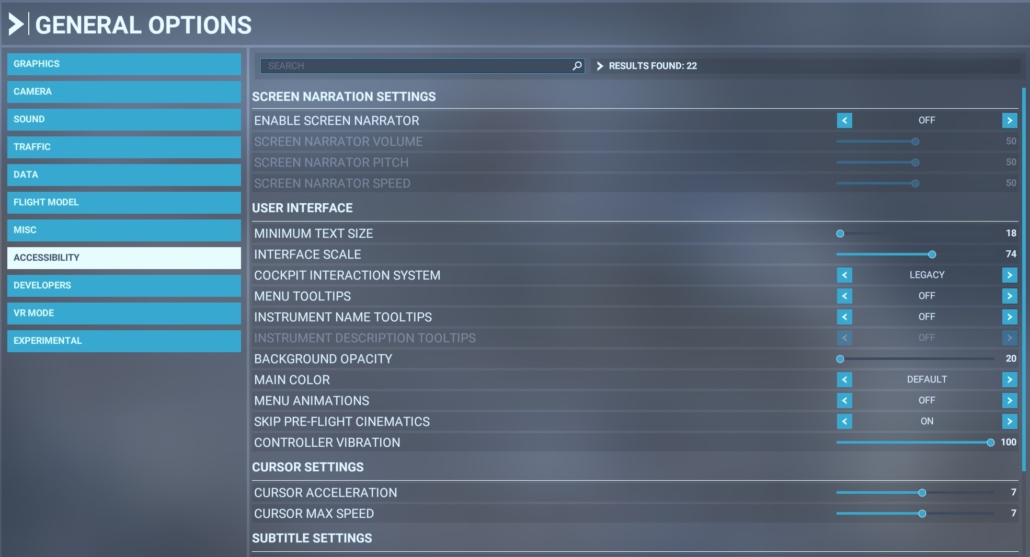
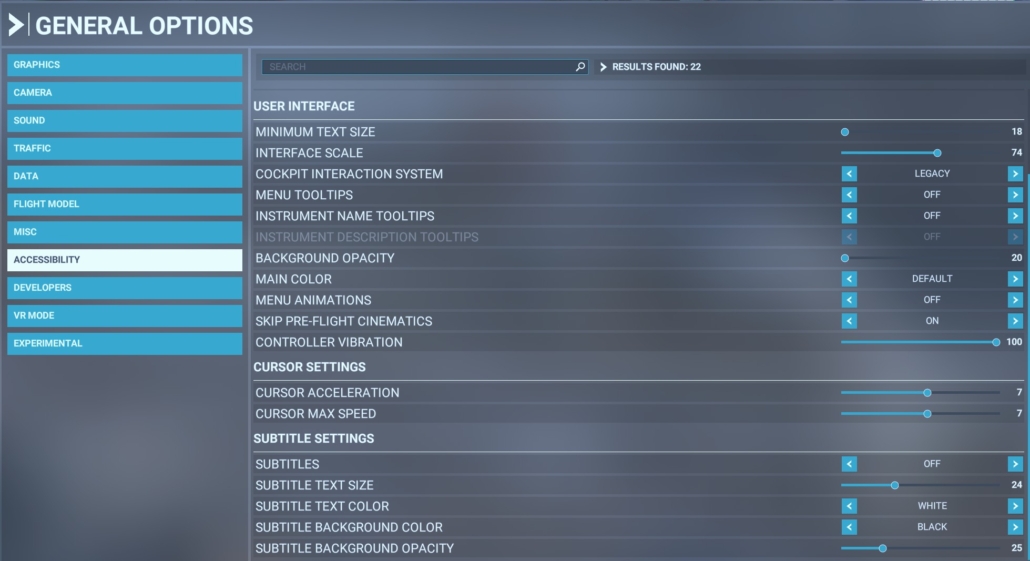
Don’t forget the enable the Depth of Field in general settings:

You can assign whatever keys you like, i have personally assigned F1,F2 and F3:

My Keyboard bindings for DoF

Basic use example

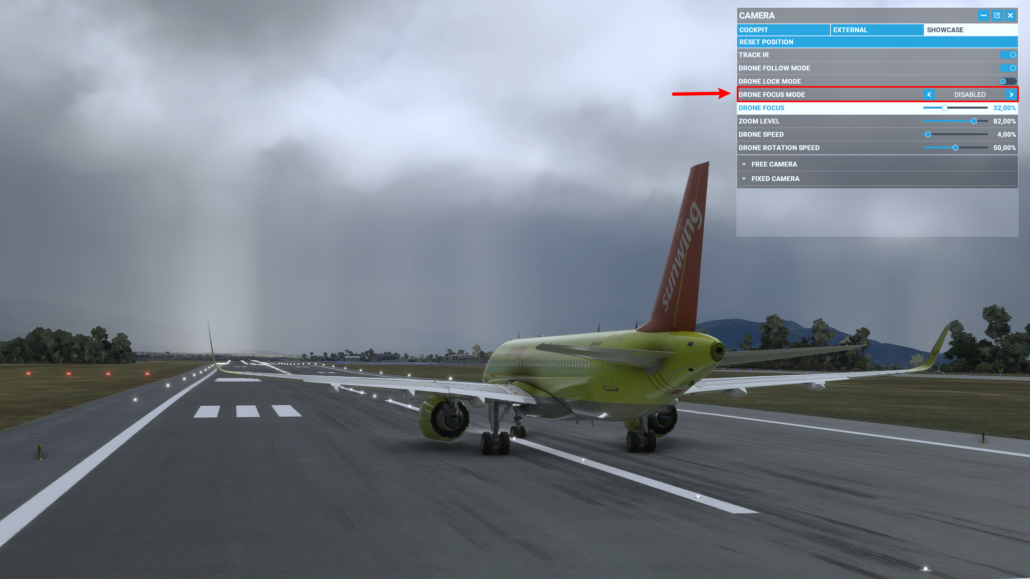
We are located at Mariscal Sucre International Airport (SEQM). Ready for takeoff and a curtain of rain in front of us.

In the first picture the effect is off:

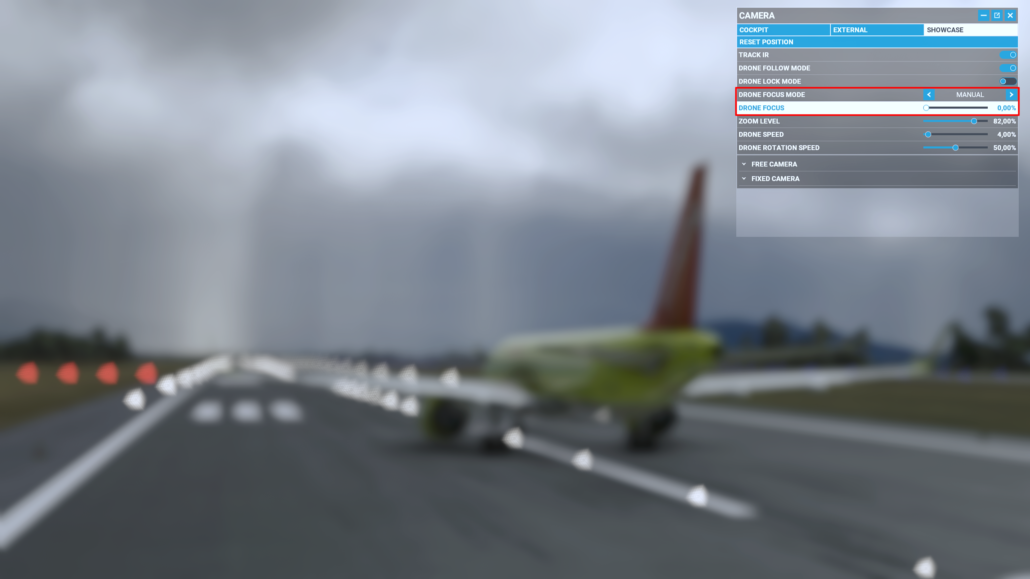
Enable the effect by pressing F1 or just by selecting from the option window. Press F2 all the way to get the focus to 0%:

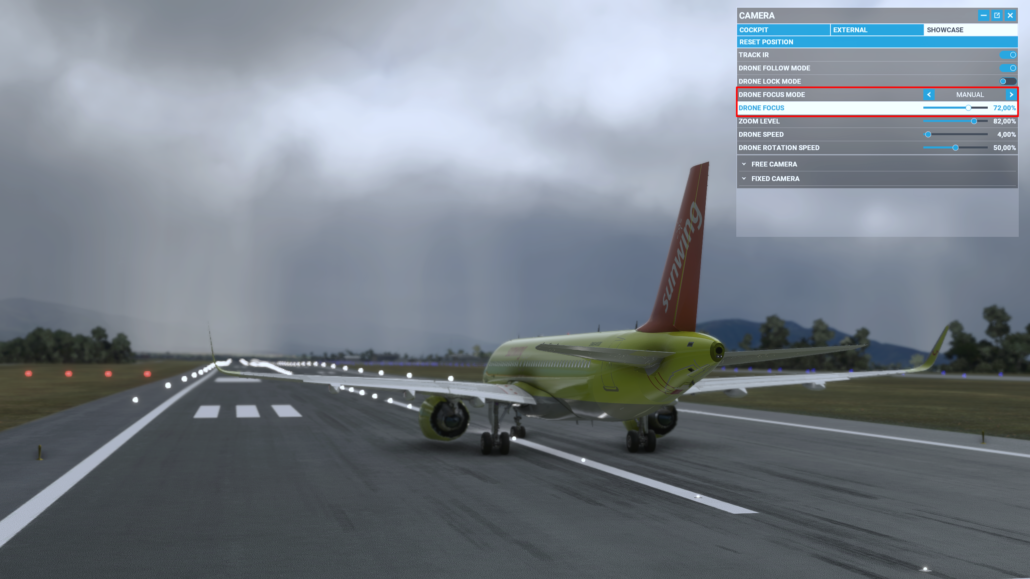
By pressing F3 or by dragging the drone focus slider we find the sweet spot which in our case is 72%:

My PC setup

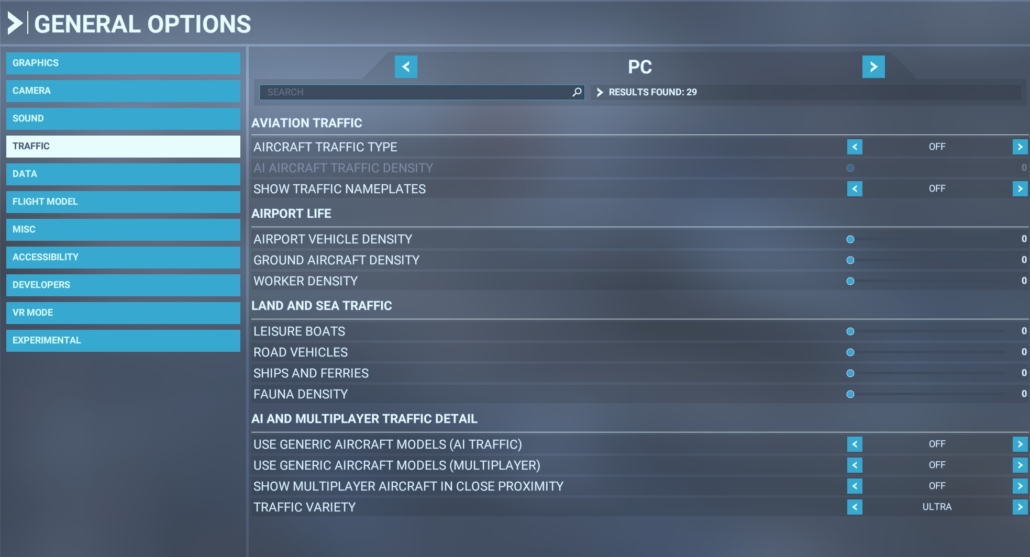
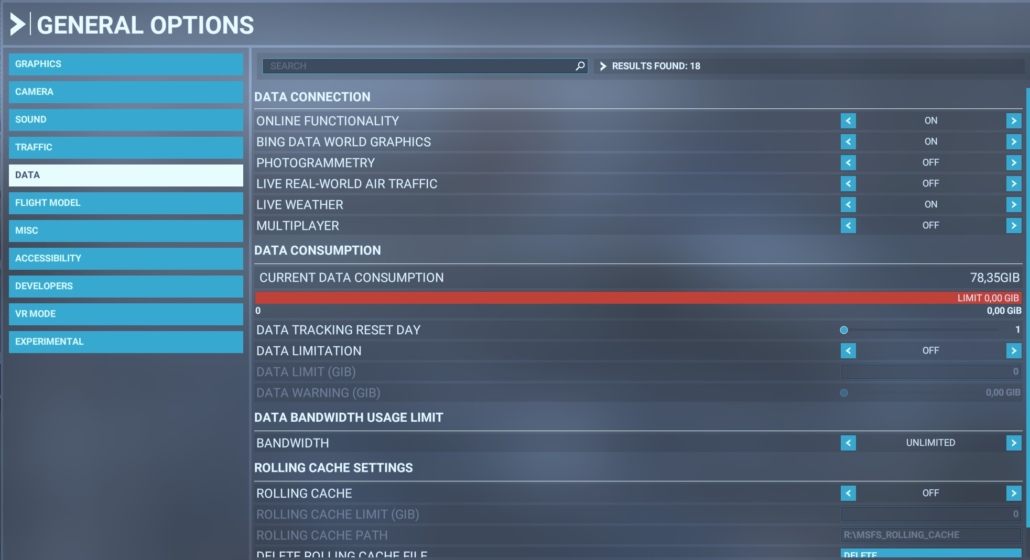
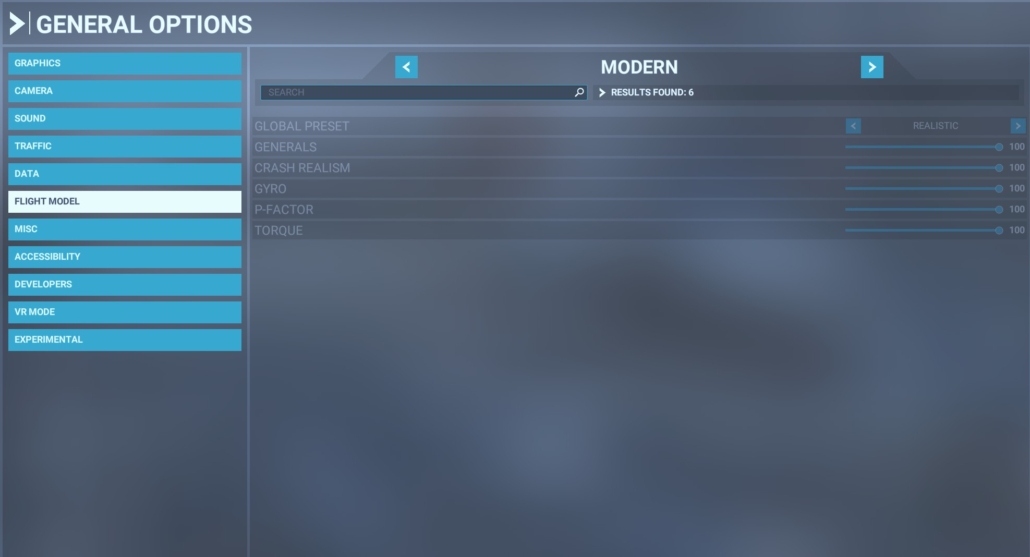
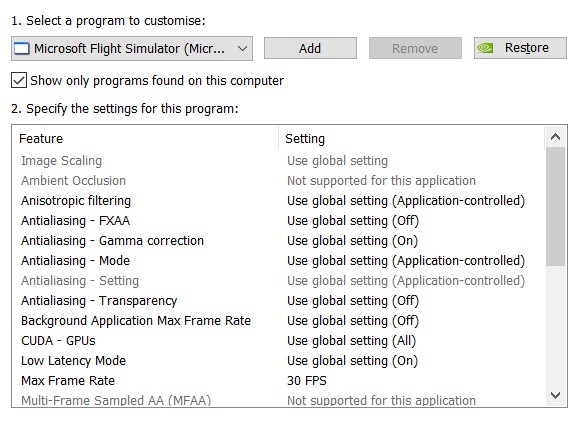
Except the settings below , i have also tuned the colors with NVIDIA Freestyle.

My current rig setup:

  • CPU: i7-8700k overclocked to 5.0Ghz
  • GPU: MSI 3070 8GB
  • RAM: 32GB
  • HDD: SSD
  • Resolution: 1440p

Settings

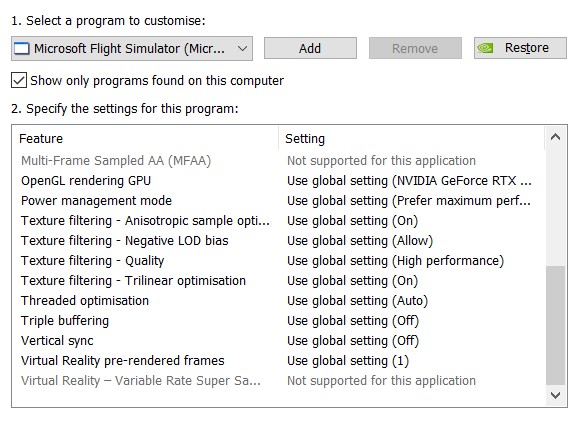
Nvidia Control Panel settings

Disable SHARPEN in Flight Simulator post-process

Flight Simulator post process the image before it is being shown to the screen. These options do not exist in the UI. you can find them in the file UserCfg.opt which is located in the LocalCache directory which can be found in: C:\Users[Your User Name]\AppData\Local\Packages\ Microsoft.FlightSimulator_8wekyb3d8bbwe\LocalCache\Packages\

  • Make sure Flight Simulator is NOT running.
  • Open the file UserCfg.opt with a text editor (e.g. Notepad) and navigate to the bottom of the file.
  • Find the PostProcess section.
  • Change Sharpen from 1 to 0.
  • Save the file.
  • If the value changes after you exit the simulator , then make the file read-only.

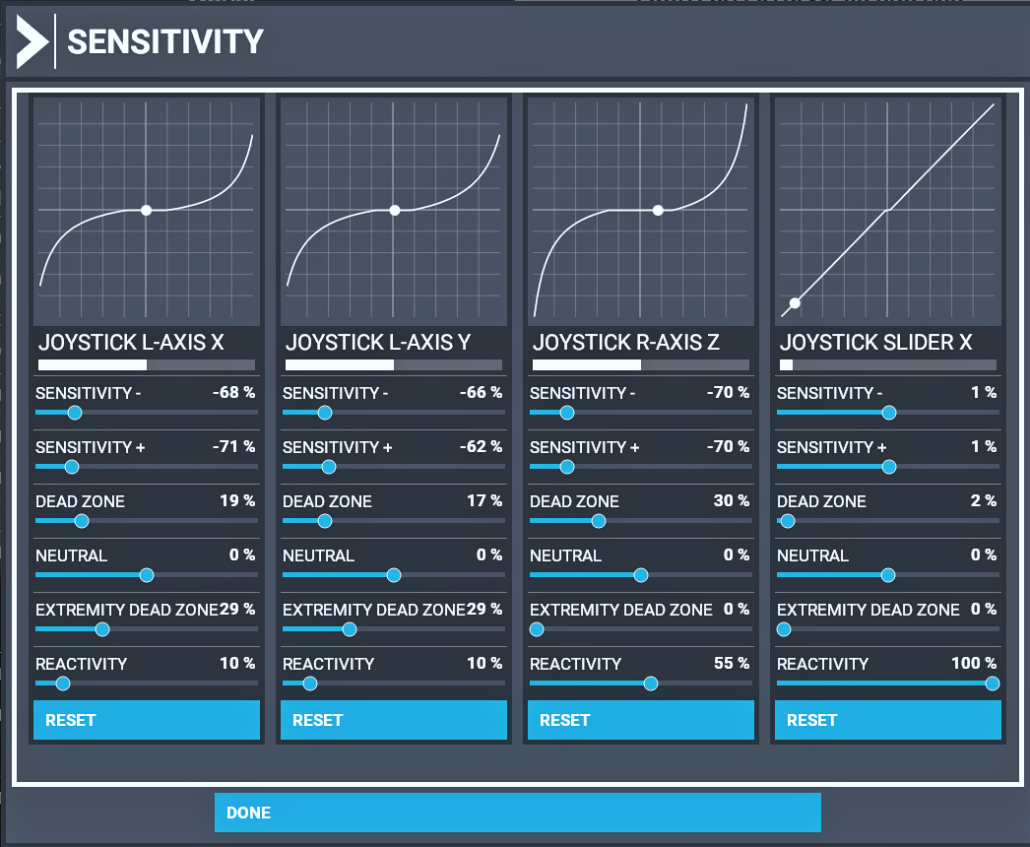
Logitech 3D Pro Sensitivity settings

Disable NDU via registry

  1. Open the Registry editor app (Regedit) again and navigate to HKEY_LOCAL_MACHINE/SYSTEM/CurrentControlSet/Services/Ndu.
  2. Find and Right-click on the Start option and click on Modify.
  3. Change the value from 2 to 4 and click on OK and reboot system.

Original post from MSFS forum: LINK