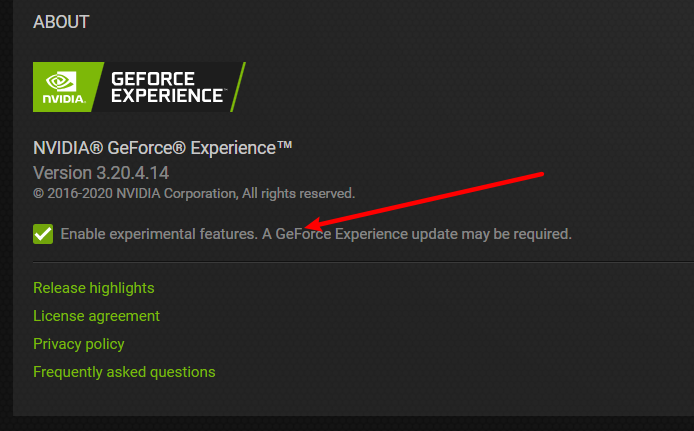
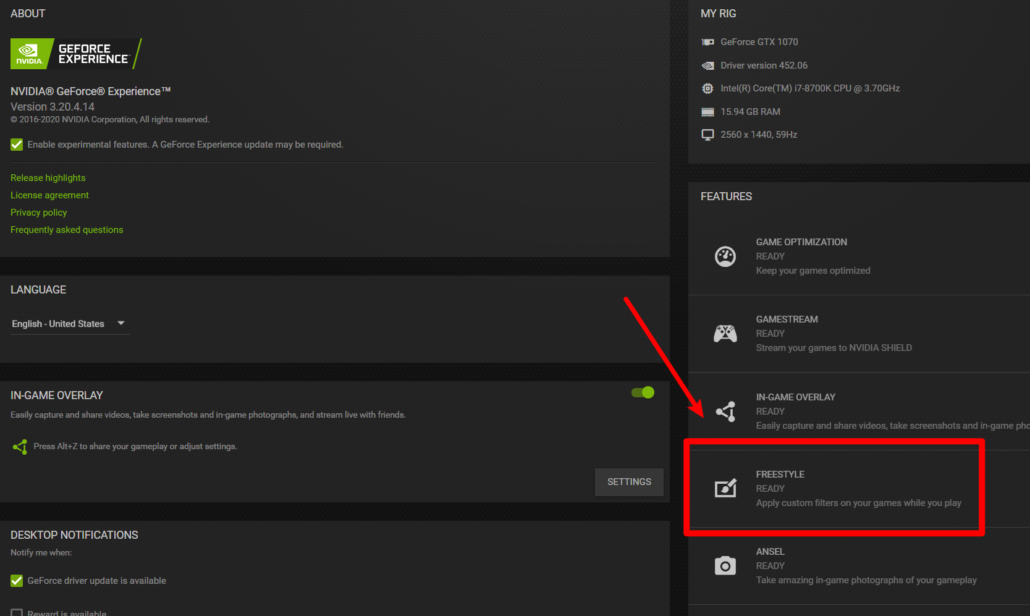
Recently i wrote a post about enabling NVIDIA Freestyle and add some shader support for Microsoft Flight Simulator.

In this post i am giving you my personal settings that i am using.

I really don’t like the over-saturation and the cartoon look of MSFS , so i tried to bring the colors close to reality as much as i could, for my eyes at least.

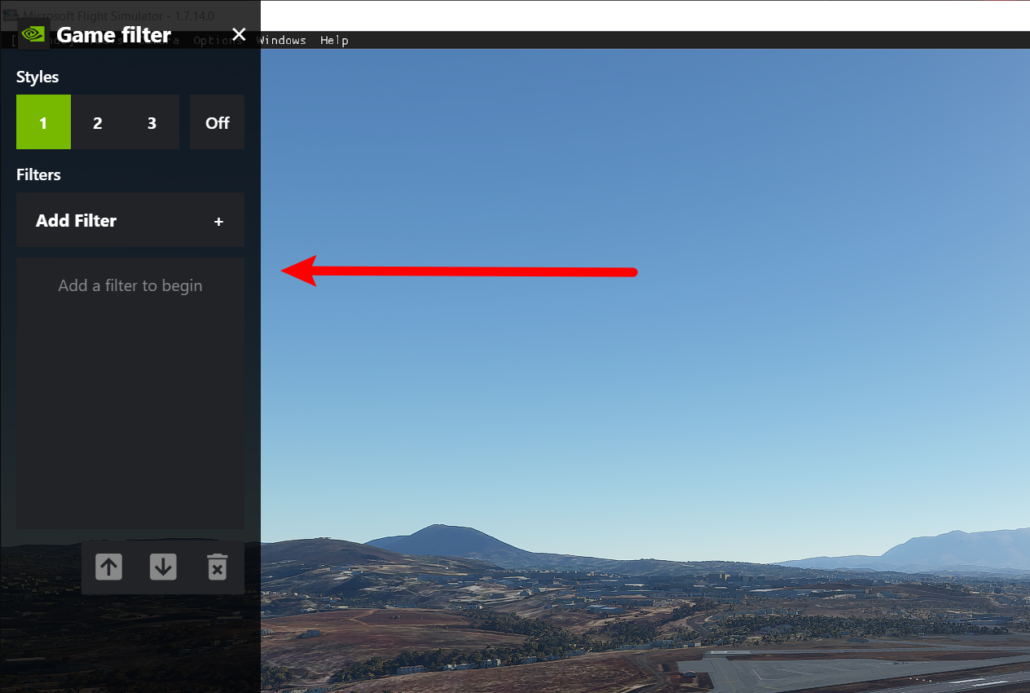
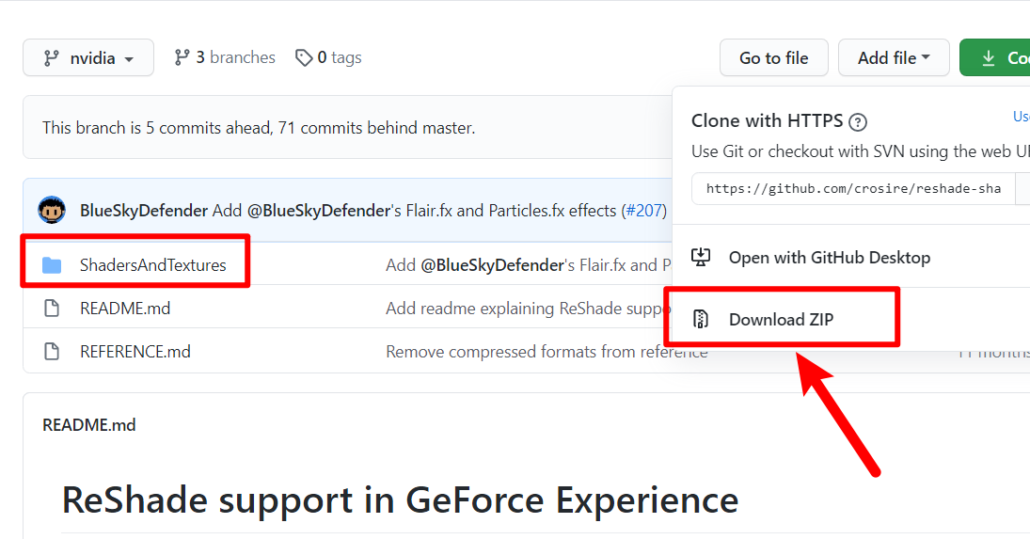
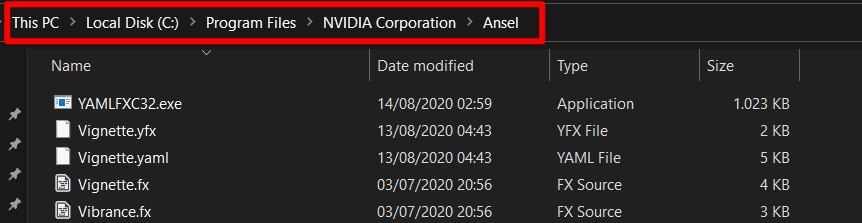
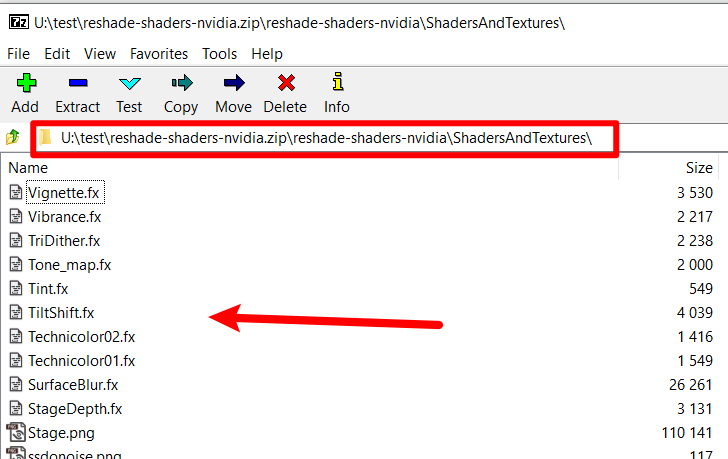
We will need access for MSFS shaders where we will have the ability to adjust colors and settings per section of the sim and not an overall touch as Freestyle is doing.

These are some samples from the shaders in use:

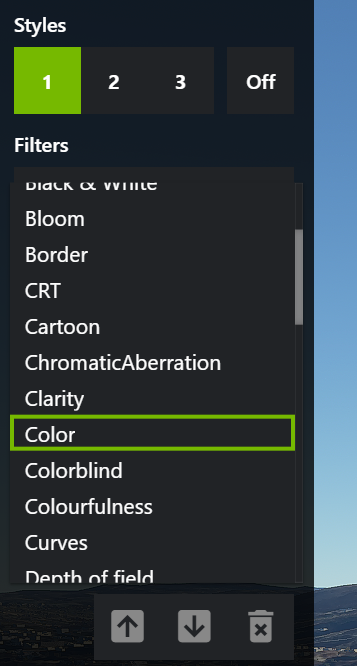
The filters that i am currently use , with their respective values are:

  • Brightness / Contrast: 0,0,30,-10,0
  • Color: 34, 20, -21 , -21

You can visit my MSFS Media Gallery where you can view my captured images using the shaders.

Time-lapses are videos created based on the technique of taking a sequence of frames at set intervals to record changes that take place slowly over time. When the frames are shown at normal speed the action seems much faster.

Moving Time-lapses also exist. The difference in these is that the camera moves during the recording of the screenshots.

The basic Time-lapse workflow for creating them is:

  1. Think what you need to do

    First you need to think what you need to do. Do you want to create a 30 seconds video of a sunrise/sunset? Or you need to create a 30 seconds video of a shorter period, like 10-20 minutes event? the only thing you need to do is to calculate how many seconds you need to set up to take the screenshot. If you want a video of 24fps it means you need 24 screenshots for 1 second of final video. You can use a time-lapse calculator. One of them is https://www.photopills.com/calculators/timelapse

  2. Boot up MSFS and set it up

    I am using the Drone camera to take the screenshots. I am adjusting the Drone camera speed and drone camera rotation speed in order to get a smooth movement after i stich them together (in case i need moving timelapse). If you just need to make a simple time-lapse , just set you camera where you want it to be and check below for the screenshot utility.

  3. Set up your traffic

    I am usually making my time-lapses with VATSIM traffic or with Real-Time traffic option from MSFS. Fro VATSIM i run vPilot and disalbe ALL traffic from MSFS.

  4. Automatically take screenshot from MSFS based on interval

    I have created a freeware utility that does exactly this. you can find it here: CAPTUREFS. With this util you can set the interval and let it capture the screenshots for you. If you have the FSUIPC7 running , you can also make moving time-lapses. You can define the direction of movement of the camera before every screenshot. In the end this will give you a result that is like the time-lapses i have created. See below for samples. Check the intro video of CaptureFS.

  5. Stitch the images together to create the video

    You can use any video editing software out there. I am personally use Davinci Resolve. You can even use Windows Movie Maker or any other tool out there (Filmora e.t.c).


Notes / Samples:

Settings:

  • Drone Camera speed: 4
  • Time Interval: 4 seconds

Make sure that you have updated both GeForce Experience & NVIDIA drivers to the latest available.

In order to use NVIDIA Freestyle with GeForce Experience, make sure that is enabled by enabling the “Experimental Features”:

Go to Settings:

GeForce Experience Settings

And enable “Experimental Features”:

Experimental Features

After restarting GeForce Experience you will be able to check and see that Freestyle is enabled in the same settings window (Bottom right):

You can now start Microsoft Flight Simulator and use Freestyle by pressing ALT+F3:

NVIDIA Freestyle enabled by ALT+F3 in MSFS

Add Reshade filters to NVIDIA Freestyle

GeForce Experience now natively supports Reshade filters.

Head over to https://github.com/crosire/reshade-shaders/tree/nvidia and download the repo zip file:

Reshade Filters repo

Go to your local hard drive location where NVIDIA keeps the filters. This is located in C:\Program Files\NVIDIA Corporation\Ansel

NVIDIA filters location

Just put the contents of the ShadersAndTextures fiolder of the zip file, the Ansel folder:

Finished!!! You now have available all the shaders in Flight Simulator:

ALL shaders available to NVIDIA Freestyle